The one thing that bothered me about this beer was part of the description: Ale brewed with apple juice, coriander, orange peel and with natural flavor added. Natural flavor? Why exactly Unibroue? That feels too much like adding caramel coloring to certain beers. Don't. Just don't.
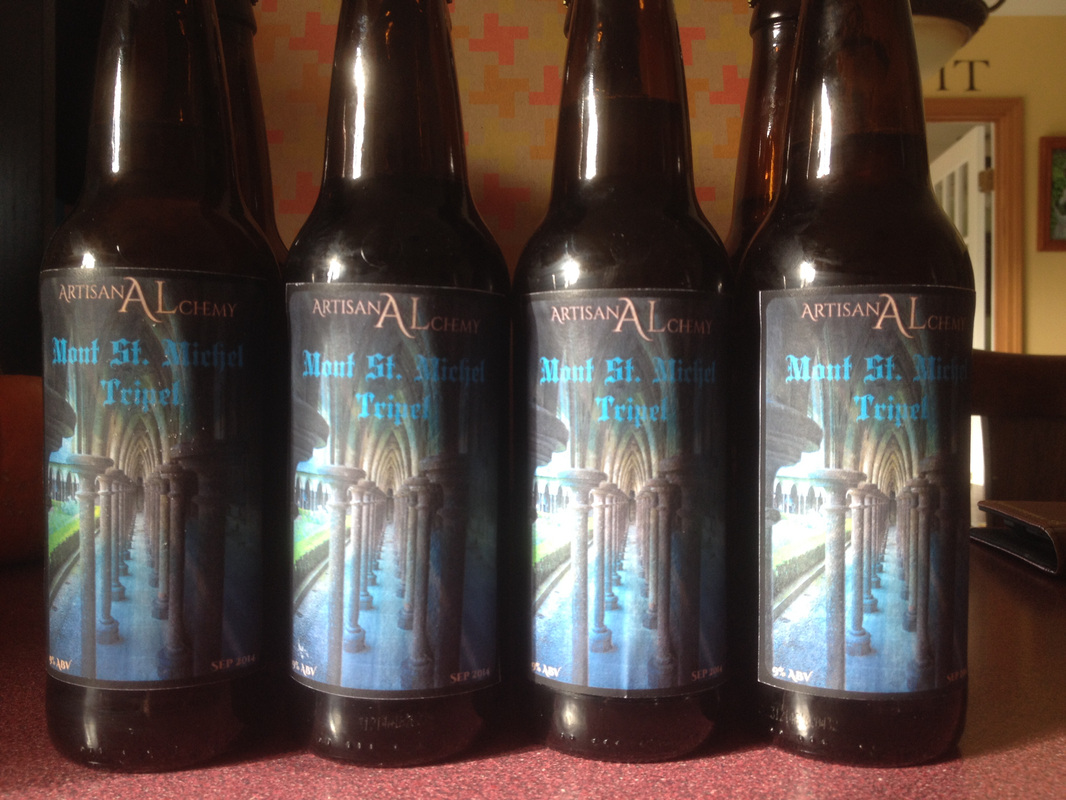
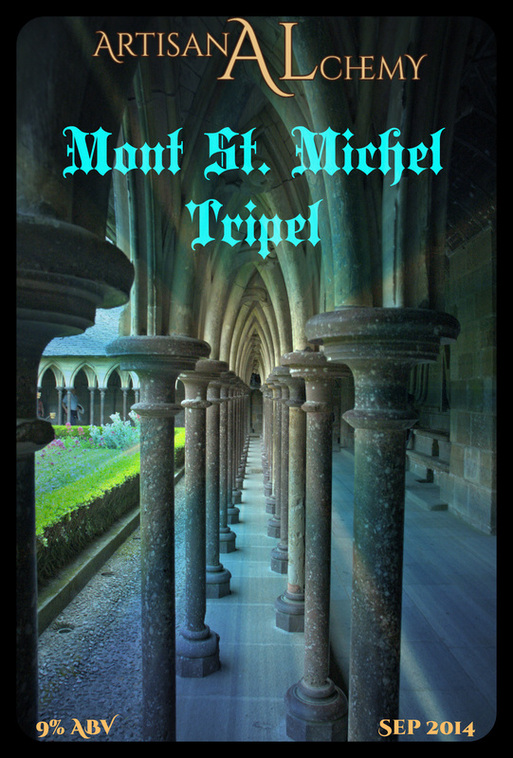
After our first tripel had been aging in secondary for 3 weeks (with a week in primary before that) we bottled it today. This will now have to bottle condition for at least 1 month and preferably longer (as long as I can keep my hands off it). We tried some of the green beer that was left in the bottling bucket and it was pretty tasty, but the alcohol was definitely upfront. Right now though, it was a tad too sweet from the added orange blossom honey, but that will dissipate over time as the bottles carbonate. The longer the bottles will sit, the more the alcoholic taste (this beer is 10% ABV) will mellow out. I'm truly looking forward to November when we can taste this! 
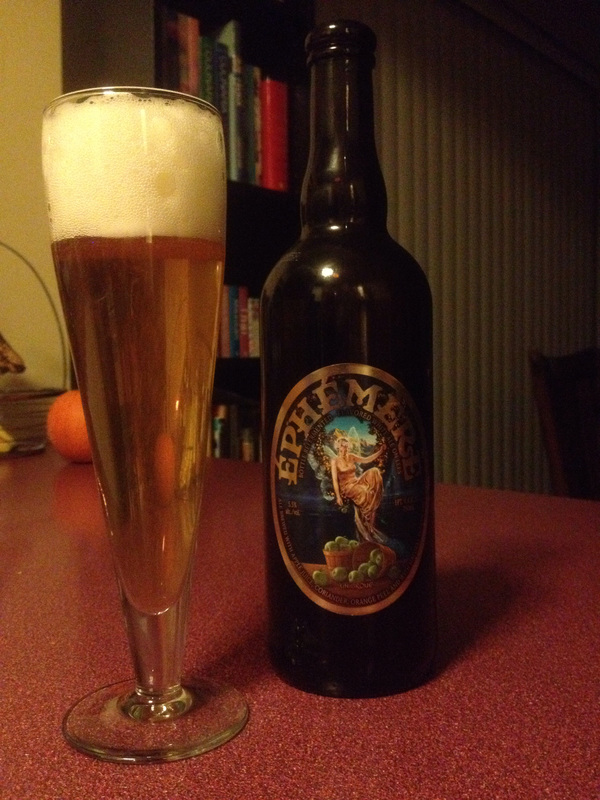
A couple nights ago, we tried a bottle of Éphémère Apple from Unibroue (5.5% ABV). Grany Smith dominates, with perhaps a light yeast flavor. To be honest, if I didn't know this was a beer I would have described it as a cider, but there's some hoppiness to it. The pillow-like head dissipates quite quickly, leaving behind a speckled, lacy layer. The one thing that bothered me about this beer was part of the description: Ale brewed with apple juice, coriander, orange peel and with natural flavor added. Natural flavor? Why exactly Unibroue? That feels too much like adding caramel coloring to certain beers. Don't. Just don't.
0 Comments
We don't do things half-arsed in Belgium. Okay, that's debatable as I can bring up many examples that would contradict this statement (*cough* roads *cough*). Let's be more specific: we don't do things half-arsed when beer's involved. I first noticed this article on engadget: Belgian brewery to reduce truck use with underground beer pipeline. In order to cut down on the number of trucks it puts on the streets, Brouwerij De Halve Maan is working with the city of Bruges to construct an underground beer pipeline. While the brewing still happens at its original site, filtration, bottling and shipping operations were moved outside of town in 2010. To get the tasty beverages from point A to point B, dozens of trucks go back and forth each day, but not for much longer. Folks familiar with the Cleveland, Ohio-based Great Lakes Brewing Company may recall that it uses an underground system to send its suds from a production facility to a taproom/pub across the street. The effort in Belgium will be much more elaborate though, replacing the 3-mile tanker route with 1.8 miles of polyethylene pipe, and cutting transit time to between 15 and 20 minutes. De Halve Maan claims the system can send out 6,000 liters per hour -- on top of cutting traffic and reducing emissions. What's more, the brewery (er, brouwerij) will foot the bill for installation and road repairs, reducing the financial burden on the city. That's neat in itself of course, but then I went to the source that they posted, an article from Het Nieuwsblad (the link is in Dutch): There's of course one large problem: the pipeline still has to be constructed and they will need to break apart the driveways of several inhabitants along the line. As a compensation, they'll receive a beer tap in their houses. Also in the news, Haacht Brewery Tongerlo Blond just won the World's Best Beer 2014 award, both in its category (pale beers) and overall. How expensive is brewing? Is it cheaper than buying beer at the store? Let me start by asking you a couple questions as well. What beer do you like? How much are you willing to spend? If all you're interested in are the standard six-packs that are being sold here, then by all means stop right there and go buy that pig swill at the store. I apologize to pigs everywhere by suggesting they'd even drink it. Clearly I'm not opinionated. Now that we've got this out of the way, let's focus on the actual aspect of brewing and the costs. Brewing is much like cooking. To start you need equipment and that means that you can make it as expensive as you want it to be. If you're already into cooking, chances are you have most of what's needed. Many people seem to start with the 5 gallon batches. Right now I like 1-gallon recipes. Time-wise there's no difference, as you still have to boil for at least 1 hour. And whether you have 3 lbs or 15 lbs of grain, the mash will still take about 1 hour as well. The real difference is that I can brew something new or intriguing and if it doesn't work out... Well at the most I might waste 10 bottles of beer as opposed to 50. There's of course a difference in equipment as well. We already had a couple stock pots that will easily let me do 1- and 2-gallon batches. If I want to upscale to 5-gallon brews, then I'll have to get a bigger kettle (or 2). Taking into account that these bigger pots might take a looooooong time to come to a boil on our glass-top stove, I'd be looking at getting either propane burners or electrical heating elements. My upfront costs have been really low so far, because we decided to stay small for now. I got all the necessary equipment to brew in a 1-gallon kit I received as a gift (excluding ingredients such as grain and yeast):
Aside from the above, we also needed the 2 aforementioned stock pots (at least 1-gallon) a big spoon (for stirring), some measuring cups and a fine-mesh sieve. Again, this was equipment we had. If I'd only use that equipment and would get the grains and yeast at the LHBS (Local Home-Brew Store), it would costs us about $0.50 per 12oz bottle. Please point me to a store where they sell (drinkable) beer for that low of a price. I did want to get some other essential items to improve and shorten the brewing process. The cheapest way to brew beer from all grains is to use the brew in a bag (biab) method. Basically you can skip a separate mash tun as everything takes place in your boiling kettle. I went the mash tun route and here's the equipment you need: 1. Sanitizer - $10 You don't want to sterilize, but sanitation is an absolute necessity. Usually you only want the one yeast strain to grow. This no-rinse Star San set me back around $10 for 8 oz, but you only need 0.5 oz for 5 gallons of water. The sanitized water is used for bottles, fermentors, tubing, etc... basically anything that comes into contact with the wort once it's chilled. 2. Mash tun - $80 A kettle will do, but I bought a 10-gallon cooler (food-grade), which cost around $50 or so. I replaced the plastic spigot with a ball-valve and installed a bazooka screen (to prevent the grains from going out the valve). The total to create the mash tun was around $75-80. They normally sell those for $130 at a minimum. 3. Wort chiller - $80 After boiling the wort it's critical to cool it down to yeast-pitching temperature (65-75 F) as quickly as possible. Before I used to put the pot with near-boiling wort in an ice bath in the sink. It would take an hour or more to cool down. You can buy wort chillers, but I made mine myself. It was cheaper (at least $30-40) and it was fun too. Now I can chill boiling liquid to yeast pitching temps in about 4-5 minutes. 4. High-precision scale - $7 Hops are measured in fractions of ounces (or preferably in grams - don't get me started on the U.S. measuring system) and unless you have a scale that can handle that, you'll have to get an additional one. I chose this jeweler's scale, which does exactly what's required for the low price of $6.95! 5. Refractometer - $30 I got this one from Amazon for about $30, but there are many different models out there. Mine is Brix-scale only and having a dual-scale (specific gravity and brix) would be nice, but there are lots of online calculators out there that will convert the values from one to the other. Oh, what does it do? Well as explained in one of the earlier posts, the refractometer will measure the specific gravity of a liquid, which basically boils down to the sugar content. Alcohol present in the liquid will lead to inaccurate results, hence why most people will use a hydrometer for readings from the fermentor. This handy calculator will make that obsolete! 6. Fermentors, caps/stoppers, airlocks - $10-20 The 1 gallon fermentors are exactly the same as the 365 Organic apple juice we buy at Whole Foods. So guess how those are being reused! I had to buy some extra airlocks and stoppers (nr 6 stoppers seem to work best on these jugs) and that's about an extra $1 per jug or so. 7. Digital thermometer - $20-50 Preferably water- and thus beer-proof, it makes it really handy for instant readings. We already had one we use for making caramel and ice cream. 8. Spray bottle - $2? Get one and fill it with sanitizer. Super cheap but oh so handy! 9. Funnel with mesh - $10 I use this funnel with a backsplash to fill the fermentors once the wort has cooled down. It has a small mesh, but I also use a grain bag, which I hang over the funnel. This captures most of the hops and all the spices (if any), which results in less trub in the fermentor. 10. Bottling bucket - $10 This is a food-grade plastic bucket with a spigot. In goes the fermented beer and the priming sugar (to carbonate the beer in the bottles) and once (gently!) mixed it goes into the bottles. Cap those and let them sit for at least 2 weeks (depending on the beer style this could be a lot longer). 11. Auto-siphon - $10 The racking cane that came with the kit was a pain to work with. Basically it's used to siphon the beer out of the fermentor. You don't want to pour it as a) it would result in to much oxygenation (bad, m'kay?) and b) there would be too much trub (dead yeast cells, etc) in there as well. The auto-siphon is basically 2 plastic tubes, one inserted into the other and you use it as a pump to extract the beer from the jugs. 12. Bottles, caps and bottle capper - $20+ It's literally impossible to keg 1-gallon batches, so bottling it is for me. I need about 8-10 bottles (12 oz) per batch. Save some money and reuse commercial beer bottles or ask family and friends to save them for you! Rinse them out as soon as you're done with them and the clean up will be really easy. I got one of the standard bottle cappers, which is around $17. Caps were a couple dollars for a bag of 200 or so, if I recall correctly. Some of it is definitely optional. Do you need a refractometer? No, but then you won't know approximately how much alcohol is in the beer. You also won't know precisely when the fermentation is over. If you wait long enough, it'll be fine of course. Kettles, a thermometer and the sanitizer as well as the fermentors and airlocks are an absolute necessity. So what's next on my wish list? A long laundry list of items, that's for sure. It ranges from bigger kettles and electrical heating elements to a champagne corker (for those Belgian beer bottles) and a temperature controlled fermentation chamber. All in good time! The final elements are: water, yeast and grain (plus other ingredients depending on the recipe). In general my grain bill is around $4 per batch and yeast ranges from $2 (dry) to $8 (liquid). Oh yeah, here's the label for my tripel! I dubbed it Mont Saint Michel because it uses a photo I took of the cloister at ... right, Mont Saint Michel. I've been using blow off tubes on every single fermentation bottle, but it's only as of late that I understand the importance of using them. Homebrew forums and reddit alike are filled with pictures and stories of beer geysers that would give Old Faithful a run for its money and lids and airlocks exploding off their vessels. The consensus is that you shouldn't use an airlock until the most vigorous part of the fermentation is over. Until yesterday I've only had 2 fermenters going nuts, but both brews from Saturday have now also turned into extremely active CO2 volcanoes. The pictures are a bit dark (fermenting beer is camera shy), but you can see how the Kräusen is filling up the jug all the way to the top and some of the fermenting beer is flowing through the blow off tube. The tube ends are dipped in a growler with water and sanitizer (to prevent critters from crawling into the beer) and this liquid looks like a porter now too. Nevertheless, I wouldn't recommend drinking that! I've had some additional fun with creating labels today in between games of Monopoly with the youngest (he won fair and square) and then having a "movie afternoon". Behold my non-DTP qualities: Waiter there's a cow in my wine! Today's dinner required a long prep: wine-braised short ribs with gremolata and polenta. Our 9-quart Le Creuset worked its magic on the short ribs, and about 3 hours later we had a fantastic dinner. The flavor of the short ribs was nothing short of what we had tasted at The Forest Grill in Birmingham. We used about 3/4 of a bottle of California 37, a full bodied Cabernet Sauvignon from Save Me, San Francisco Wine Company (from Train-fame), to braise the meat. As we're not wasteful, we finished the remainder with dinner. Brew Day arrived and it was jam-packed with prepping, brewing and ye olde faithful, cleaning. As mentioned yesterday I had 2 beers planned: a Pumpkin Dubbel and a Chocolate Maple Porter. I decided to start with the porter, given that I had to roast the pie pumpkin in the oven for 1 hour. While the porter malted in my spunky 10-gallon cooler, I prepped the pumpkin. If you would also like to make a pumpkin beer, may I advise you to not cut your finger. My hatred for cutting up pumpkin is reciprocal to how much I like eating pumpkin-flavored food. My finger is still very much attached, but it could have been nasty had I not hit my nail with the knife. I still got 2 gashes (if you've ever tried to make a stone skip on water, then picture a knife doing that on your finger). One hour later, the porter's mash was done (i.e. steeping the grains in hot water) and it was time to take a gravity reading to see if I was on target. The specific gravity of a liquid, or relative density, is largely dependent on and thus an indication of the amount of sugars. Based on the grains and other ingredients used one can estimate what the gravity should be under ideal circumstances. There are many factors influencing this, such as the milling of the grains, temperature, mashing times, etc... I always compare my pre-boil gravity (wort coming out of the mash tun), the original gravity (OG) after the boil and before adding the yeast and then what is known as the final gravity (FG; when the sugar content is no longer dropping - it stabilizes). The difference between FG and OG gives us the alcohol contents by volume. Anyway, using my refractometer the pre-boil gravity measured around 1.029, which I then compared to the theoretical value as calculated by BeerSmith. According to the sheet I printed it was 1.056. Taking a closer look I noticed that the final gravity was something like ... 1.225. Most high gravity beers such as trappists and rye wines for instance don't go much higher than 1.11. The final ABV of this porter would have been more than 25% if 1.225 was correct! I think not. I'm still not sure what BeerSmith did, but a quick reset of the program brought everything back to normal and the estimated gravity was now also 1.029. Spot on! The color is absolutely fantastic: a thick coffee-like liquid. The boil went smoothly and thanks to (very) vigorous stirring during the cooling phase, I was able to get the temperature down to 73 F in 4 minutes (faster is better!). After cleanup and lunch it was time to tackle the pumpkin dubbel. While it was mashing I bottled the ginger beer for the kiddies. I once again hit all the right numbers and about 2.5 hours later it was final clean up time. Now we're going to have to wait 1 month before we can actually taste any of it, but the pumpkin ale made the house smell wonderfully! The tradition amongst homebrewers is to have a homebrew while brewing, but I don't particularly like drinking beer at 8:00 in the morning, so I waited until dinner. My wife made an excellent Mexican dish, which you can see here being accompanied by a Jalapeño Saison. |
The Alchemist
A Belgian living in Michigan interested in all things fermenting (and food in general). Brewing
Primary Archives
September 2015
Categories |