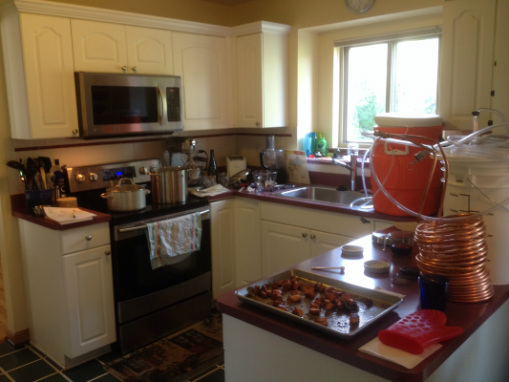
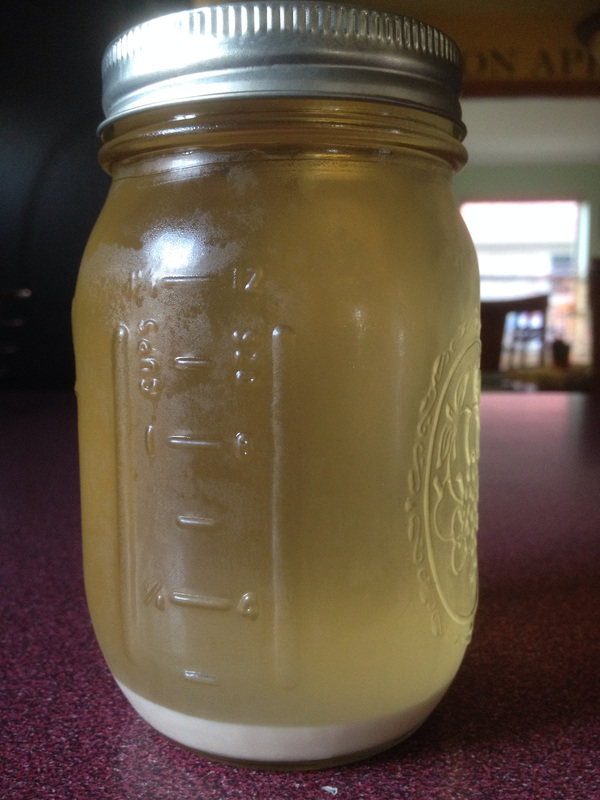
I've been using blow off tubes on every single fermentation bottle, but it's only as of late that I understand the importance of using them. Homebrew forums and reddit alike are filled with pictures and stories of beer geysers that would give Old Faithful a run for its money and lids and airlocks exploding off their vessels. The consensus is that you shouldn't use an airlock until the most vigorous part of the fermentation is over. Until yesterday I've only had 2 fermenters going nuts, but both brews from Saturday have now also turned into extremely active CO2 volcanoes. The pictures are a bit dark (fermenting beer is camera shy), but you can see how the Kräusen is filling up the jug all the way to the top and some of the fermenting beer is flowing through the blow off tube. The tube ends are dipped in a growler with water and sanitizer (to prevent critters from crawling into the beer) and this liquid looks like a porter now too. Nevertheless, I wouldn't recommend drinking that!
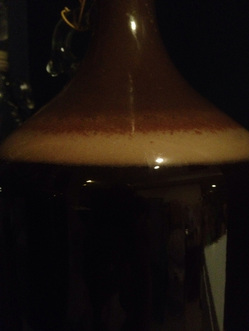 Fermenting porter with Kräusen all the way to rubber stopper. | 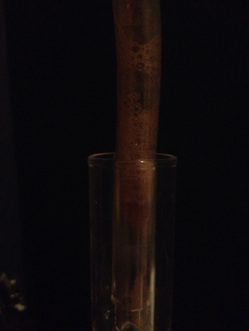 Kräusen (and beer :( ) in the blow off tube. |
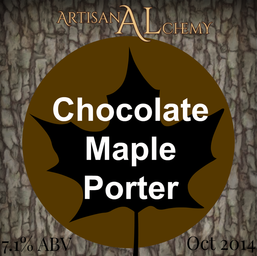
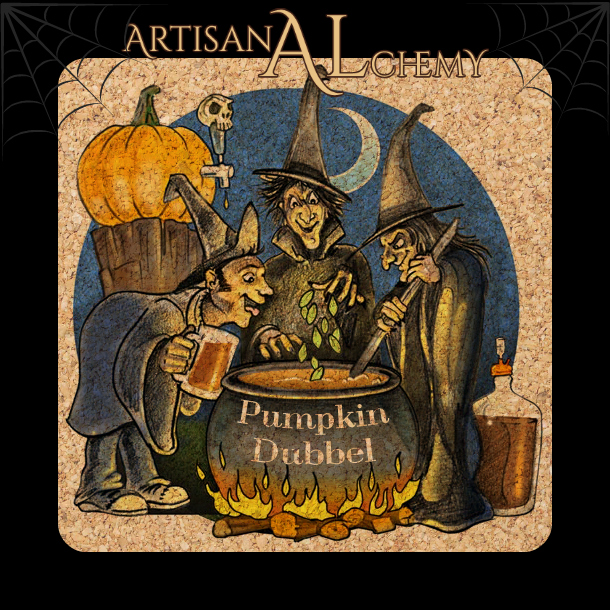
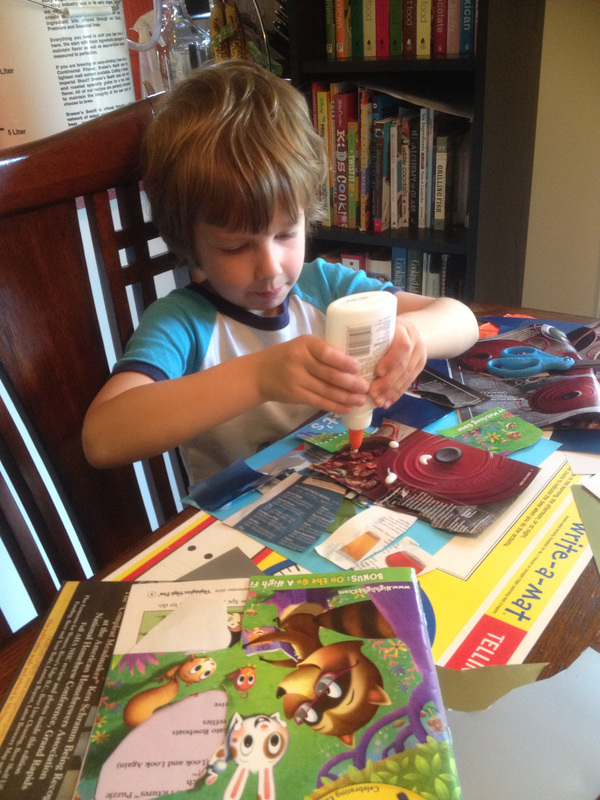
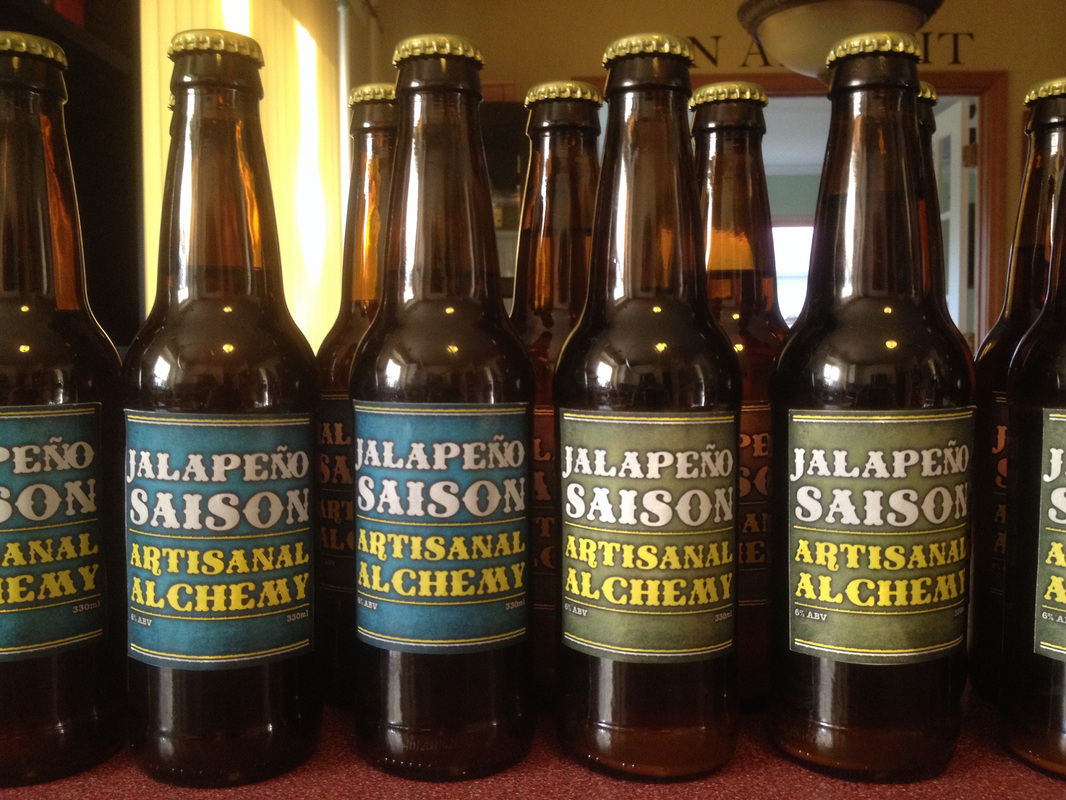
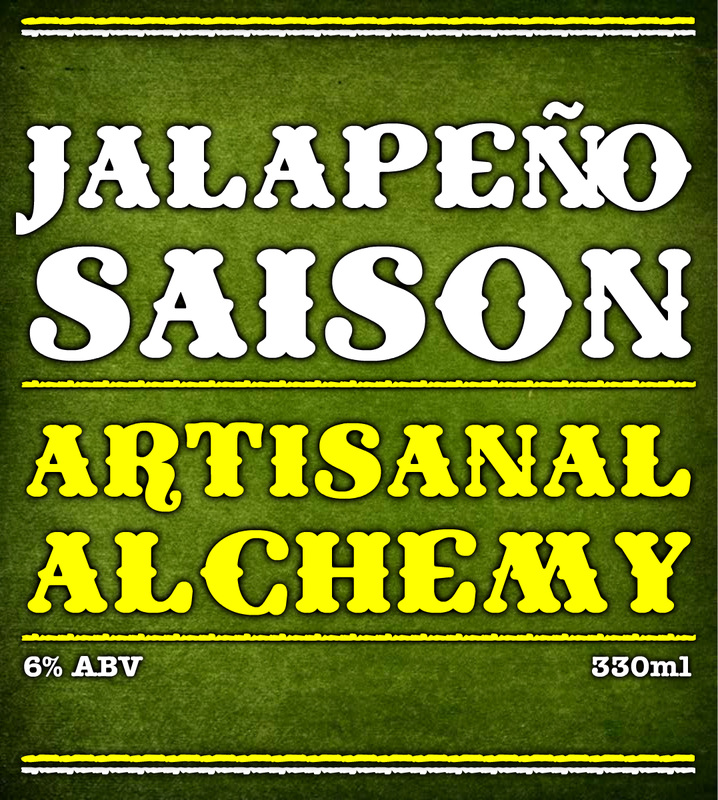
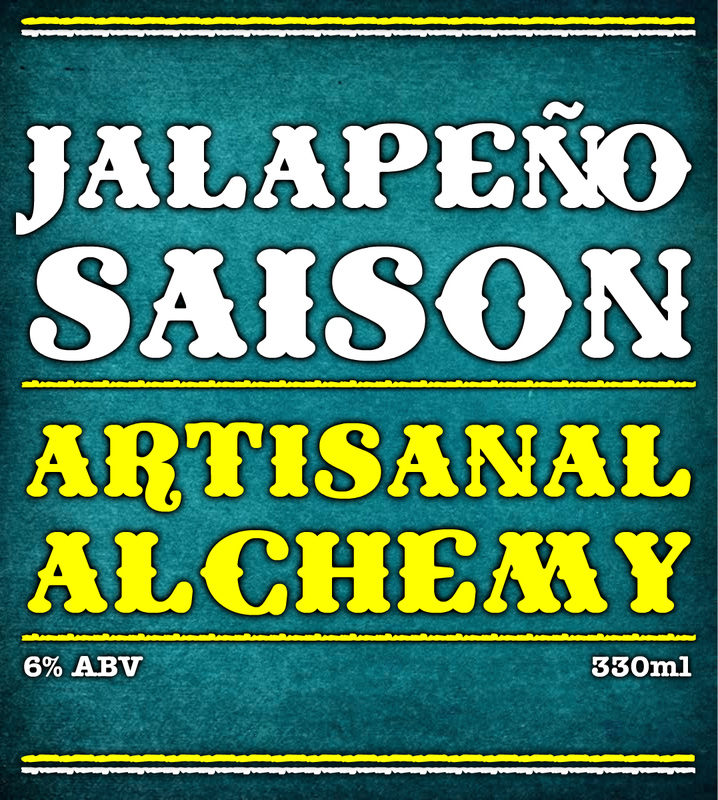
I've had some additional fun with creating labels today in between games of Monopoly with the youngest (he won fair and square) and then having a "movie afternoon". Behold my non-DTP qualities:
 |  |
Waiter there's a cow in my wine!
Today's dinner required a long prep: wine-braised short ribs with gremolata and polenta. Our 9-quart Le Creuset worked its magic on the short ribs, and about 3 hours later we had a fantastic dinner. The flavor of the short ribs was nothing short of what we had tasted at The Forest Grill in Birmingham. We used about 3/4 of a bottle of California 37, a full bodied Cabernet Sauvignon from Save Me, San Francisco Wine Company (from Train-fame), to braise the meat. As we're not wasteful, we finished the remainder with dinner.
Today's dinner required a long prep: wine-braised short ribs with gremolata and polenta. Our 9-quart Le Creuset worked its magic on the short ribs, and about 3 hours later we had a fantastic dinner. The flavor of the short ribs was nothing short of what we had tasted at The Forest Grill in Birmingham. We used about 3/4 of a bottle of California 37, a full bodied Cabernet Sauvignon from Save Me, San Francisco Wine Company (from Train-fame), to braise the meat. As we're not wasteful, we finished the remainder with dinner.


 RSS Feed
